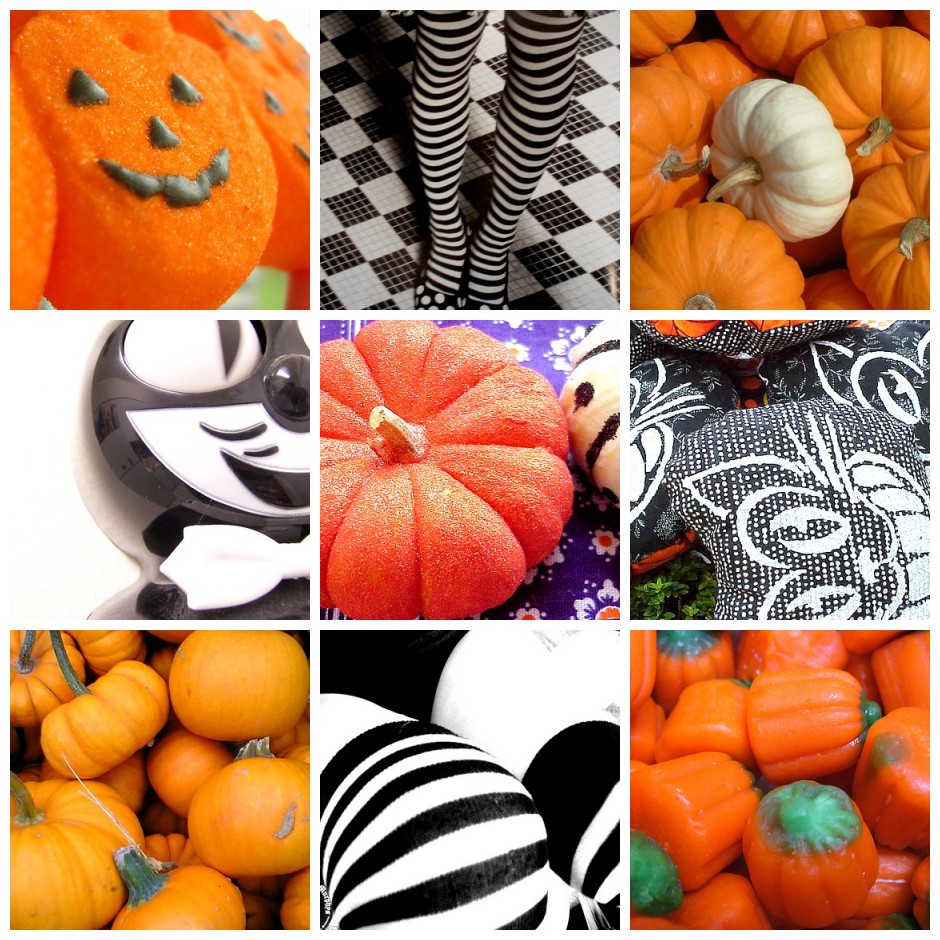
Welcome To The Pumpkin Patch!
Let's pick some pumpkins, or maybe go on a hay ride,
whichever you choose, it's sure to be a great time!
"Would you like some pumpkin pie?"
The maple in this recipe is very subtle; the seasoning, and heavy custard, pretty much overpowers it. If you want a more distinctly maple flavor, use one of the following two. You may also find that this is not sweet enough; to sweeten it more, incorporate up to 1/2 cup sugar with the eggs. All in all, this is pretty close to traditional pumpkin pie flavor, with a hint of maple.
The maple flavor in this much richer than that of the previous recipe. We use a combination of maple syrup and maple sugar to provide give us the maple intensity we want; maple syrup alone is more delicate, and maple sugar has a heavy richness (like brown sugar), which we don't want to overpower other flavors. You can vary the proportions of maple syrup and maple sugar, remembering that when increasing the syrup, decrease the amount of pumpkin, and the amount of maple sugar, by the same amounts.
Below is a line drawing we made up to help in making maple pastry leaves. Feel free to copy it, print it and cut it out as a template. In rolling a single-crust pie, there is generally enough dough left over to make one or two of these leaves. The effect is impressive.
After you have lined your pie dish and put it back in the fridge to rest, bring together the trimmings. If they are very dry and flour-coated, consider spraying them lighty with a mister. Collect them together in a small disk, maintaining the layering as much as you can, then smash/smear them together until they they become one mass again. Consider letting this dough rest in the refrigerator for several minutes.
Roll the dough out to the desired thickness. Use your template or cutout to cut out leaves. We find a paper cutout (throwaway) works fine, and use a small sharp paring knife by inserting the point at the inside corners of the leaf then cutting down along each edge, straight down without pulling through the dough to keep it from stretching. Then using the tip of the paring knife from the dull side, score some veins into the leaf. Chill the leaves thoroughly.
Brush the tops leaves carefully with a whole-egg egg wash (a whole egg beaten well with a pinch of salt, or a dash of milk or cream) to give them a darker, glossy look. Bake on a parchment-covered sheet, to desired doneness.
First, select appropriate sugar or pie pumpkins for your puree. Snap the stem off the pumpkin. Wash away any dirt or foreign matter from the outside.
 With a large chef's knife, cut the pumpkin into 6 or 8 wedges, depending on its size. The easiest way to remove the pith, seeds, and pulp is to use a filleting knife along the inside of the wedges. With a little practice, this will leave little or no scraping needed.
 Cut the wedges into half (through the pumpkin's "equator", so that you get two somewhat triangular pieces) and arrange them in a large roasting pan.
Bake, uncovered, for about 1 hour at 325°F, and two more hours at 300°F. The meat should be tender all throughout, and not watery under the dry skin that forms. Remove from the oven (or turn off oven and leave the door cracked for ventilation) and let the pumpkin cool and continue to dry for a couple more hours.
Remove the skin and any exceptionally dry or leathery parts, and puree thoroughly. Note that most of the dry surface of the meat is still sufficiently tender to be used, but probably not the stem corners. Because the pulp is so dry, it will take several minutes with the food processor, and a number of stirs and scrapes, before the pulp liquifies enough to turn over by itself and puree properly. Once it does this, a good minute or more of pureeing will result in a wonderfully smooth, pumpkin-y paste.
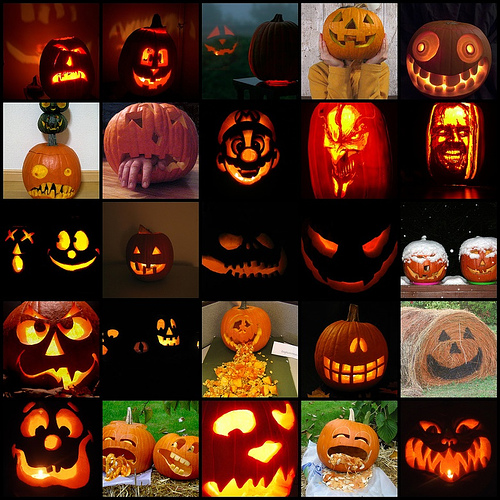
Jack O' Lantern Lore
Carving Jack O' Lanterns is a
Halloween custom that dates back to ancient Ireland, although the first
Jack-o-Lanterns were made of turnips, beets or even hollowed out potatoes, not
pumpkins. The large orange squashes didn't come into prominence until Irish
immigrants settled in the United States, where pumpkins were cheaper and more
plentiful than turnips.
Several version of an Irish legend tells of a man named Stingy Jack, who invited
the Devil to have a drink. When it came time to pay, he convinced the Devil to
change into a sixpence, but instead of paying for the drink Jack pocketed the
sixpence and kept it stored beside a silver cross, which prevented the Devil
from changing back. Jack made a deal with the Devil before letting him free that
the Devil could not harass him. Next Halloween Jack died and was turned back
from the Gates of Heaven. He went to the Gates of Hell and the Devil told him to
go away, as Jack had made him promise not to claim his soul. Jack didn't want to
leave because it was dark and he couldn't find his way. The Devil tossed Jack a
glowing coal and Jack put it inside a turnip, and ever since with this "Jack O'
Lantern", Stingy jack's lonely soul has been roaming the faces of this earth.
Another version has Jack tricking Beelzebub into climbing a tree, where upon
Jack then carved an image of a cross in the tree's trunk, trapping the devil in
his high perch. Jack made a deal with the devil that, if he would never tempt
him again, he would promise to let Lucifer down from the tree. According to the
folk tale, after Jack died, he was denied entrance to Heaven because of his evil
ways, but he was also denied access to Hell because he had tricked the devil.
The rest of the legend remains the same..
This Halloween, carve a Jack-O-Lantern Yourself,
Carving Tips
Select a pumpkin that is ripe, has no bruises, cuts or nicks. Do not carry a
pumpkin by its stem; it may break, and do not bruise it as it will not last as
long. For easy cleanup, place your pumpkin on several layers of newspaper before
carving. Kids: have a parent or other adult cut a circle around the stem of the
pumpkin for you. They should use a sharp knife with long, sturdy blade for best
and safest results. Or, you can do it yourself with a safer, plastic "pumpkin
carving" knife available at many supermarkets during the pumpkin season.
Parents: knives are very sharp, so make sure that the proper supervision is
maintained when the children carve their pumpkins. Make sure the hole is large
enough to reach in and pull out the seeds and stringy membrane. The bottom of
the pumpkin could also be cut off instead, this will allow the pumpkin to sit up
straight and make removing the seeds easier! When cleaning out the pumpkin, use
and old soup ladle to get out the seeds. Try carving a giant pumpkin, it is
easier to carve than a regular pumpkin. Examine your pumpkin to determine the
best place to carve his or her face. Draw an outline of a face on a plain sheet
of white paper (use simple bold features). Tape your paper to the pumpkin where
you want the face to be. Score the design onto the pumpkin by punching through
the paper into the pumpkin with a large nail or pin. Carefully cut out the
design following the holes that were "punched" with your plastic knife. When you
are finished cutting, simply push out the pieces to view the final results. Fix
some lights inside. Now you're all set to light up your home on Halloween night!
Have Fun!
Fun Photos =^.^=